Scenario:
How to setup a SmartHost in Exchange 2016?
How to setup a Internet Mail Relay in Exchange 2016?
How to setup Exchange 2016 to use MX Outbound as a Mail Relay?
Solution:
Follow the guide below to configure Microsoft Exchange 2016 to use MX Tools as the SmartHost and Internet Mail Relay.
This article already assumes your exchange system is able to send emails externally and therefore a Send Connector has already been created and configured correctly.
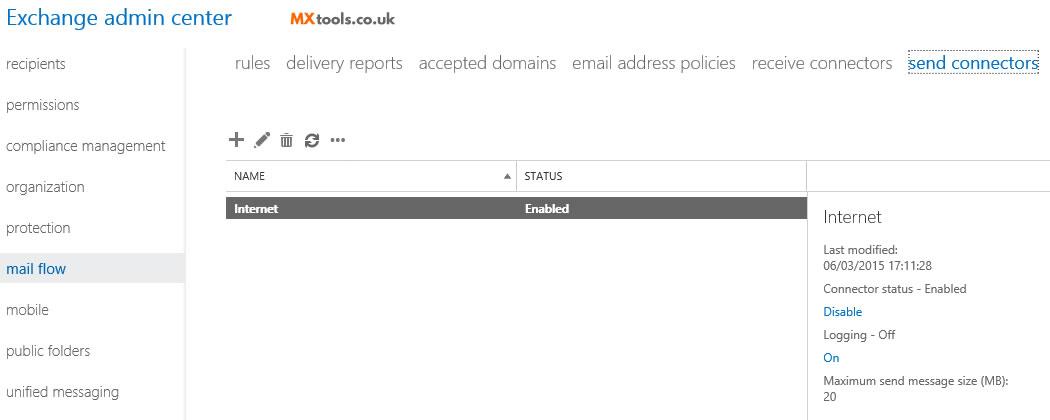
- Open Exchange Admin Center
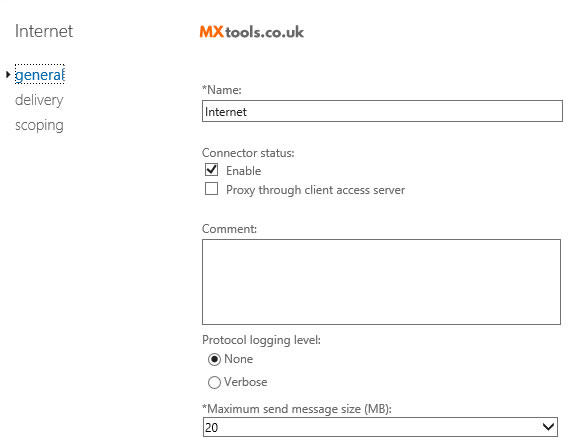
- Navigate to Mail Flow -> Send Connectors and select the send connector
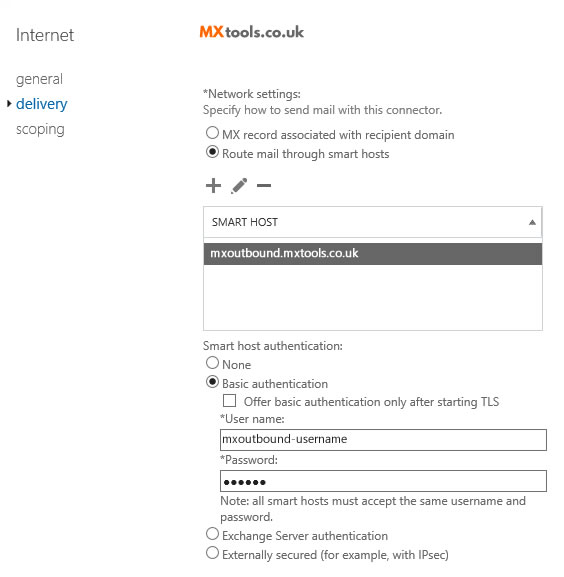
- Choose the Route mail through smart hosts option from the delivery section
- Click Add+ in the Add smart host window
- Enter the server address you have been given in your welcome email.
- Select Basic Authentication and enter the username and password you were also provided. and click Save.
- Under Address Space from the scoping section, click Add+ in the Add Domain window.
Select Type as SMTP
Enter * in the Fully Qualified Domain Name (FQDN)
and Save.
- For the Source Server click Add+ in the Select a server window.
Select a mailbox server that will be used to send email to the Internet via the Client Access server
The changes you've made will take effect straight away without you having to reboot the server or restart any services.
Video Tutorial
Video Tutorial - Using Powershell
Summary of server details
|
Outgoing server |
As provided. |
|
Outgoing server protocol |
SMTP |
|
Outgoing server port |
25, 465, 587, 2525, 8025 or 10025 |
|
Authentication Type |
Basic Authentication |
|
Username |
As provided |
|
Password |
As provided |